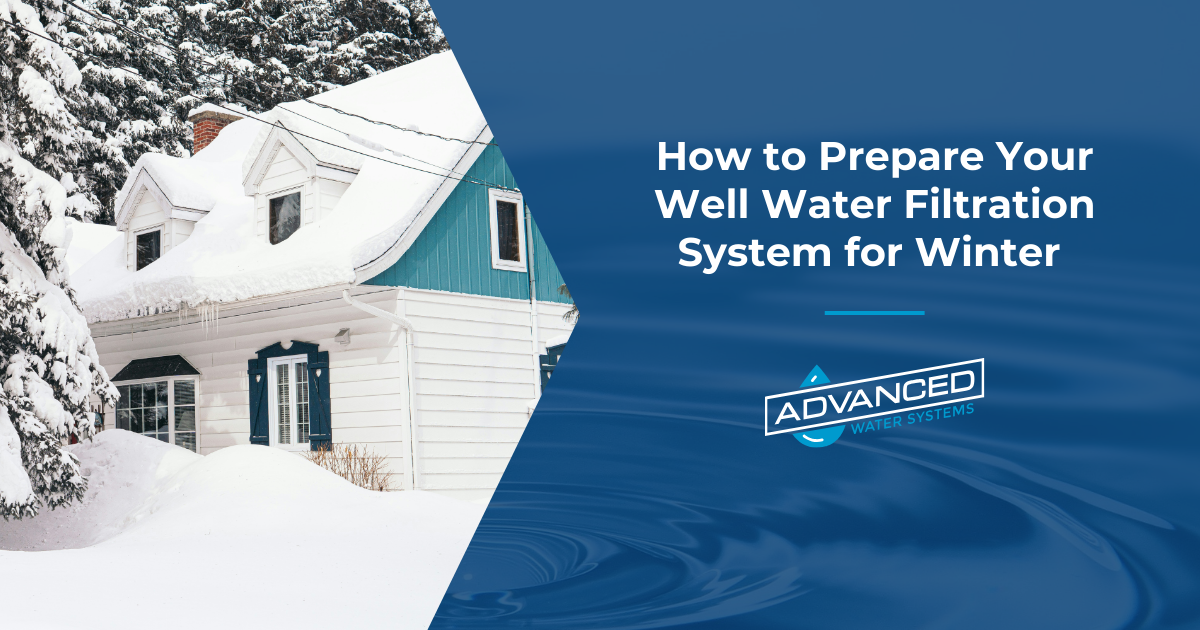
Winter might seem like a long way off, but it will be here in Connecticut before you know it. It’s always a good idea to be thinking ahead, and today we’re going to talk about winterizing your well water filtration system. Making sure your well water isn’t freezing and that you always have a consistent supply of water is vital in the winter, and maintaining your filtration system is the key.
Here are some of the ways I recommend that you winterize your well water filtration system:
- Understand how your filtration system works
- Conduct a pre-winter inspection
- Insulate your pipes
- Drain the water from your filtration system
- Adjust the pressure settings
- Schedule preventative maintenance
- Be prepared for an emergency
At Advanced Water Systems, we install and service water treatment systems, pumps, tanks, and more. If you need professional services to help you make sure your well water is fit for drinking, get in touch with us!
In this article, we’ll go over what you need to know to keep your well water filtration system in good condition throughout the winter and beyond. Keep reading to learn more!
Understanding Your Well Water Filtration System
Before we get into the nuts and bolts of how to prepare for winter, let’s talk about the parts of your well water filtration system.
The Well Pump
The well pump is what provides the power for your whole system. It is responsible for drawing water up from the underground well and sending it into your home. Think about how water was drawn from a well in the “olden days,” with a bucket and a rope. The well pump is what makes it possible for the well water to be used without you having to physically pull it up.
The Pressure Tank
Next, we move on to the pressure tank. This is a reservoir that stores the water drawn by the pump. It also maintains the water pressure in your home. If the pressure tank isn’t working, you might have a trickle in the shower rather than a nice, steady stream.
Filtration Units
Your filtration units come in various forms – sediment filters, carbon filters, and sometimes even UV filters. Each type makes sure your water is free from debris, chemicals, and bacteria. Sediment filters catch large particles, like sand and rust, carbon filters remove chlorine and other chemicals, and UV filters can kill off any bacteria.
The Pipes
Finally, we have the pipes. These are the pathways that carry water from the well, through the filtration system, and into your home. They need to be in good shape, so they’re not leaking or introducing contaminants into your clean, filtered water.
Pre-Winter Inspection
Before it gets too cold, it's important to give your well water filtration system a thorough inspection. Start this in early September, so you have plenty of time before the first frost to address any issues.
- Check for Leaks and Cracks: Start by using a flashlight to inspect the pipes and connections for any signs of leaking or cracking. Look for water spots, drips, or any damp areas around the system. If there are any loose connections, you might need a wrench to tighten them.
- Examine the Well Pump and Pressure Tank: Next, take a close look at your well pump and pressure tank. Listen for any unusual noises from the pump, like grinding or rattling, which could mean you have wear and tear. Check the pressure tank for any rust or corrosion. You can also use a pressure gauge to make sure your tank is maintaining the right pressure.
- Inspect Filtration Units: Open the units, and check the condition of the filters. If they’re looking clogged or worn out, it’s time to replace them. Clean filters not only ensure clean water but also help your system run more efficiently.
Insulating Exposed Pipes and Components
When it comes to preparing your well water filtration system for winter, properly insulating the pipes will be your first major consideration. This will help prevent freezing and keep everything running smoothly.
Recommended Materials
Let’s start with the materials you’ll need:
- Foam Pipe Insulation: This is easy to install and provides protection against the cold. Look for the pre-slit foam tubes, as these are easy to fit to your pipes.
- Heat Tape: This is an electric heating cable that you wrap around pipes to keep them warm.
- Insulation Tape: Use this to secure foam insulation and seal any gaps.
Step-by-Step Instructions
- Identify Vulnerable Areas: First, find any pipes and components that are exposed to the cold. These are usually found in basements, crawl spaces, and outdoor areas. Pay special attention to any pipes that are in unheated spaces, like a porch. If your well pump housing is above ground, that can be vulnerable, too.
- Apply Heat Tape: For outdoor pipes, you can attach heat tape before the foam insulation. Follow the manufacturer’s instructions for proper installation. Note: Heat tape needs to be plugged into a GFCI outlet. You can find more information on using heat tape on Warmly Yours.
- Measure and Cut Foam Insulation: Measure the length of the pipes you need to insulate and cut the foam insulation to the right size. If you bought the pre-slit foam tubes, you’ll be able to slip it over the pipes. Make sure the insulation covers the entire length of the pipe, including any bends or joints.
- Seal the Insulation: Once the foam insulation is in place, use insulation tape to secure it. Wrap the tape around the foam – making sure there are no gaps where cold air can get in.
- Insulate the Pressure Tank and Well Pump: Don’t forget about the pressure tank and well pump. You can use foam insulation or specialized insulation blankets to keep these warm. Be sure to cover any pipes connected to these units as well.
Draining and Storing Filtration Units
If you’ll be going south for the winter or even if you’re just going to be away for a week or two, you may want to drain your filtration units. This will help prevent still water from freezing. If you’re home and using your water regularly, this isn’t something you will need to do.
I’ve compiled a list of steps you should take if you do need to drain your units. Before beginning, however, you should check your manufacturer’s instructions to see if the process differs from what I suggest here.
- Turn Off the System: Start by turning off your well pump and any electrical components connected to your filtration system. Flip the breaker switch off, too.
- Release the Pressure: Open a faucet in your kitchen or bathroom to release the pressure in the system. This makes it easier to remove the filtration units.
- Disconnect the Units: Disconnect the filtration units from the pipes. Keep a bucket or towels handy to catch any water that might spill out during this process.
- Empty the Water: Tilt the filtration units to drain out any remaining water. Make sure they’re completely empty, so the water inside doesn’t freeze.
- Clean the Filters: If you haven’t cleaned or changed the filters recently, now is a great time to do that. If the filters are reusable, rinse them well, and let them dry completely before storing. If they’re disposable, replace them with new ones when you’re back.
- Label the Parts: If you aren’t positive you’ll be able to easily reassemble the system, be sure to label everything. This will make the job simpler later.
- Store in a Safe Place: Store the drained and cleaned filtration units in a dry, warm place. A basement or heated garage works well. Make sure they’re kept away from any potential sources of freezing.
Adjusting Pressure Settings
Colder temperatures sometimes lead to lower pressure readings. This can make your water pressure go down noticeably, especially when you’re showering. You might also find that laundry takes longer to wash – thanks to a slower fill cycle.
Your well water pressure should be between 40 and 60 psi, so first check it with a pressure gauge to see if it’s in that range. If not, I’ll tell you how to make the adjustments you need.
How to Adjust the Pressure Switch Settings
- Turn Off the Power: Turn off the power to your well pump before making any adjustments. Also turn off the breaker switch. This is an important safety measure.
- Locate the Pressure Switch: The pressure switch is usually mounted near the pressure tank. It’s a small, rectangular box with a cover.
- Remove the Cover: Remove the cover of the pressure switch. Inside, you’ll see two nuts – one for the cut-in pressure and one for the cut-out pressure.
- Adjust the Cut-In Pressure: To change the cut-in pressure (the point at which the pump turns on), use a wrench to turn the nut a quarter turn clockwise for a higher pressure.
- Adjust the Cut-Out Pressure: To adjust the cut-out pressure (the point at which the pump turns off), turn the other nut a quarter turn clockwise for higher pressure or counterclockwise for lower pressure.
- Test the Settings: After making adjustments, turn the power back on, and test the system. Turn on a faucet, and let the water run to observe how the pump cycles on and off. Make sure the pump turns on and off at the desired pressures.
- Fine-Tune as Needed: If the settings aren’t right, turn off the power, and make additional small adjustments until you’re satisfied.
Scheduling Professional Maintenance
While DIY maintenance is great for routine checks and minor adjustments, giving my team a call to help you winterize your well water filtration system makes sense. Here are some of the advantages of relying on a professional:
- Expertise: We have in-depth knowledge of well water systems. We can identify issues that might not be visible to the untrained eye and provide solutions for your specific setup.
- Thoroughness: A professional inspection will cover all aspects of your system, so you can be confident nothing is overlooked.
- Preventive Care: Regular professional maintenance helps prevent major problems down the line. This will save you money later.
When to Schedule Maintenance
The best time to schedule professional maintenance is in the early fall, before the temperatures fall to the point that we’re getting regular frost. It’s a good idea to call us as soon as possible to schedule this, as we do fill up our calendars helping our clients with their winter-proofing needs.
Emergency Preparedness
Even if you’ve prepared your pipes and filtration system perfectly, winter can sometimes throw an unexpected obstacle into the mix – causing an emergency, like frozen pipes or a power outage. If you keep supplies on hand and know how to troubleshoot common issues, you can handle these situations confidently.
Supplies to Have on Hand
- Portable Water Containers: Keep a supply of portable water containers filled with clean water. If your filtration system goes down, you will need to have a water supply handy. It’s advisable to keep at least three gallons of water per person (and pet), as this should last you about three days.
- Heat Tape and Insulation: Have extra heat tape and insulation materials available for quick fixes. If you notice any pipes starting to freeze, you can act quickly to prevent them from bursting.
- Space Heaters: Portable space heaters can be used to warm up areas during a power outage.
- Wrenches and Repair Kits: Having the right tools on hand, such as pipe wrenches and basic repair kits, can help you tighten a loose connection or address other small issues.
- Backup Power Source: Consider investing in a backup power source, such as a generator, to keep your well pump and essential parts of your system running during a power outage. Know how to use it safely before an emergency occurs.
Troubleshooting Common Issues
Frozen Pipes
- Locate the Frozen Section: Look for areas where the pipes are cold to the touch or covered in frost.
- Warm the Pipes: Use a space heater, heat tape, or a hairdryer to gently warm the pipes. Start from the faucet, and work your way back toward the frozen section. Don’t attempt to use an open flame.
- Open the Faucet: Keep the faucet open to allow water to flow as the ice melts. This helps relieve pressure and prevent the pipes from bursting.
Power Outages
- Use Backup Power: If you have a generator, connect it to your well pump and essential components. Make sure it’s placed in a well-ventilated area to avoid carbon monoxide poisoning.
- Conserve Water: Ration the water from your stored supplies until the power is restored.
- Check for Damage: After the power comes back on, inspect your system for any damage (like frozen pipes) that might have occurred while the power was out.
Conclusion
Getting your well water filtration system ready for winter will help you keep your water running smoothly even when it’s cold out. Following the tips above will help you winterize your system as well as you can. Always take a look at your system, check for vulnerable pipes, and go through a winter-proofing checklist to ensure that your well water filtration system is functioning as it should and remains in top condition for a continuous supply of safe and healthy water.